


Deciding to upgrade your carbureted vehicle with a Holley Sniper EFI system is a significant step towards achieving modern reliability and performance. Whether you’re replacing an older system or converting from a traditional carburetor, proper installation is key to reaping the benefits of your new EFI setup.
Having installed many of these systems, we've compiled essential tips and tricks to ensure your project goes smoothly and delivers the easy starts and reliable performance you’re looking for.
Evaluate Your Vehicle’s Readiness
Before diving into the installation, assess your vehicle’s existing systems to ensure they’re up to the task:
-
Battery and Cables: It’s good practice to either have a new battery or have your battery checked under a load test to ensure it’s in good condition. Inspect all battery cables to make sure they’re capable of handling the added demands of the EFI system. Corroded, weak, or undersized cables can lead to electrical gremlins that are difficult to diagnose. At a minimum, use two-gauge battery cables to provide sufficient current, especially for high-performance engines that place extra demands on the starter. Ensure the voltage stays above 10V during cranking to keep the ignition circuit functioning properly. If you’re making your own cables, use a crimper. Avoid soldering, as it creates resistance and brittleness over time.
-
Charging System: Check your vehicle’s alternator and ensure it’s capable of maintaining consistent power for the Sniper EFI system. A reliable charging system is crucial for optimal performance. In some instances you may need a bigger amperage alternator to meet the requirements for the newly added fuel pump, ignition box and electric fans. Lots of early alternators only put out about 50-60 amps
-
Fuel System: The most critical aspect is providing the Sniper with the appropriate fuel pressure and volume. If your car still has a stock mechanical fuel pump designed for carburetors, you’ll need to upgrade to an electric fuel system that can deliver higher pressure.
-
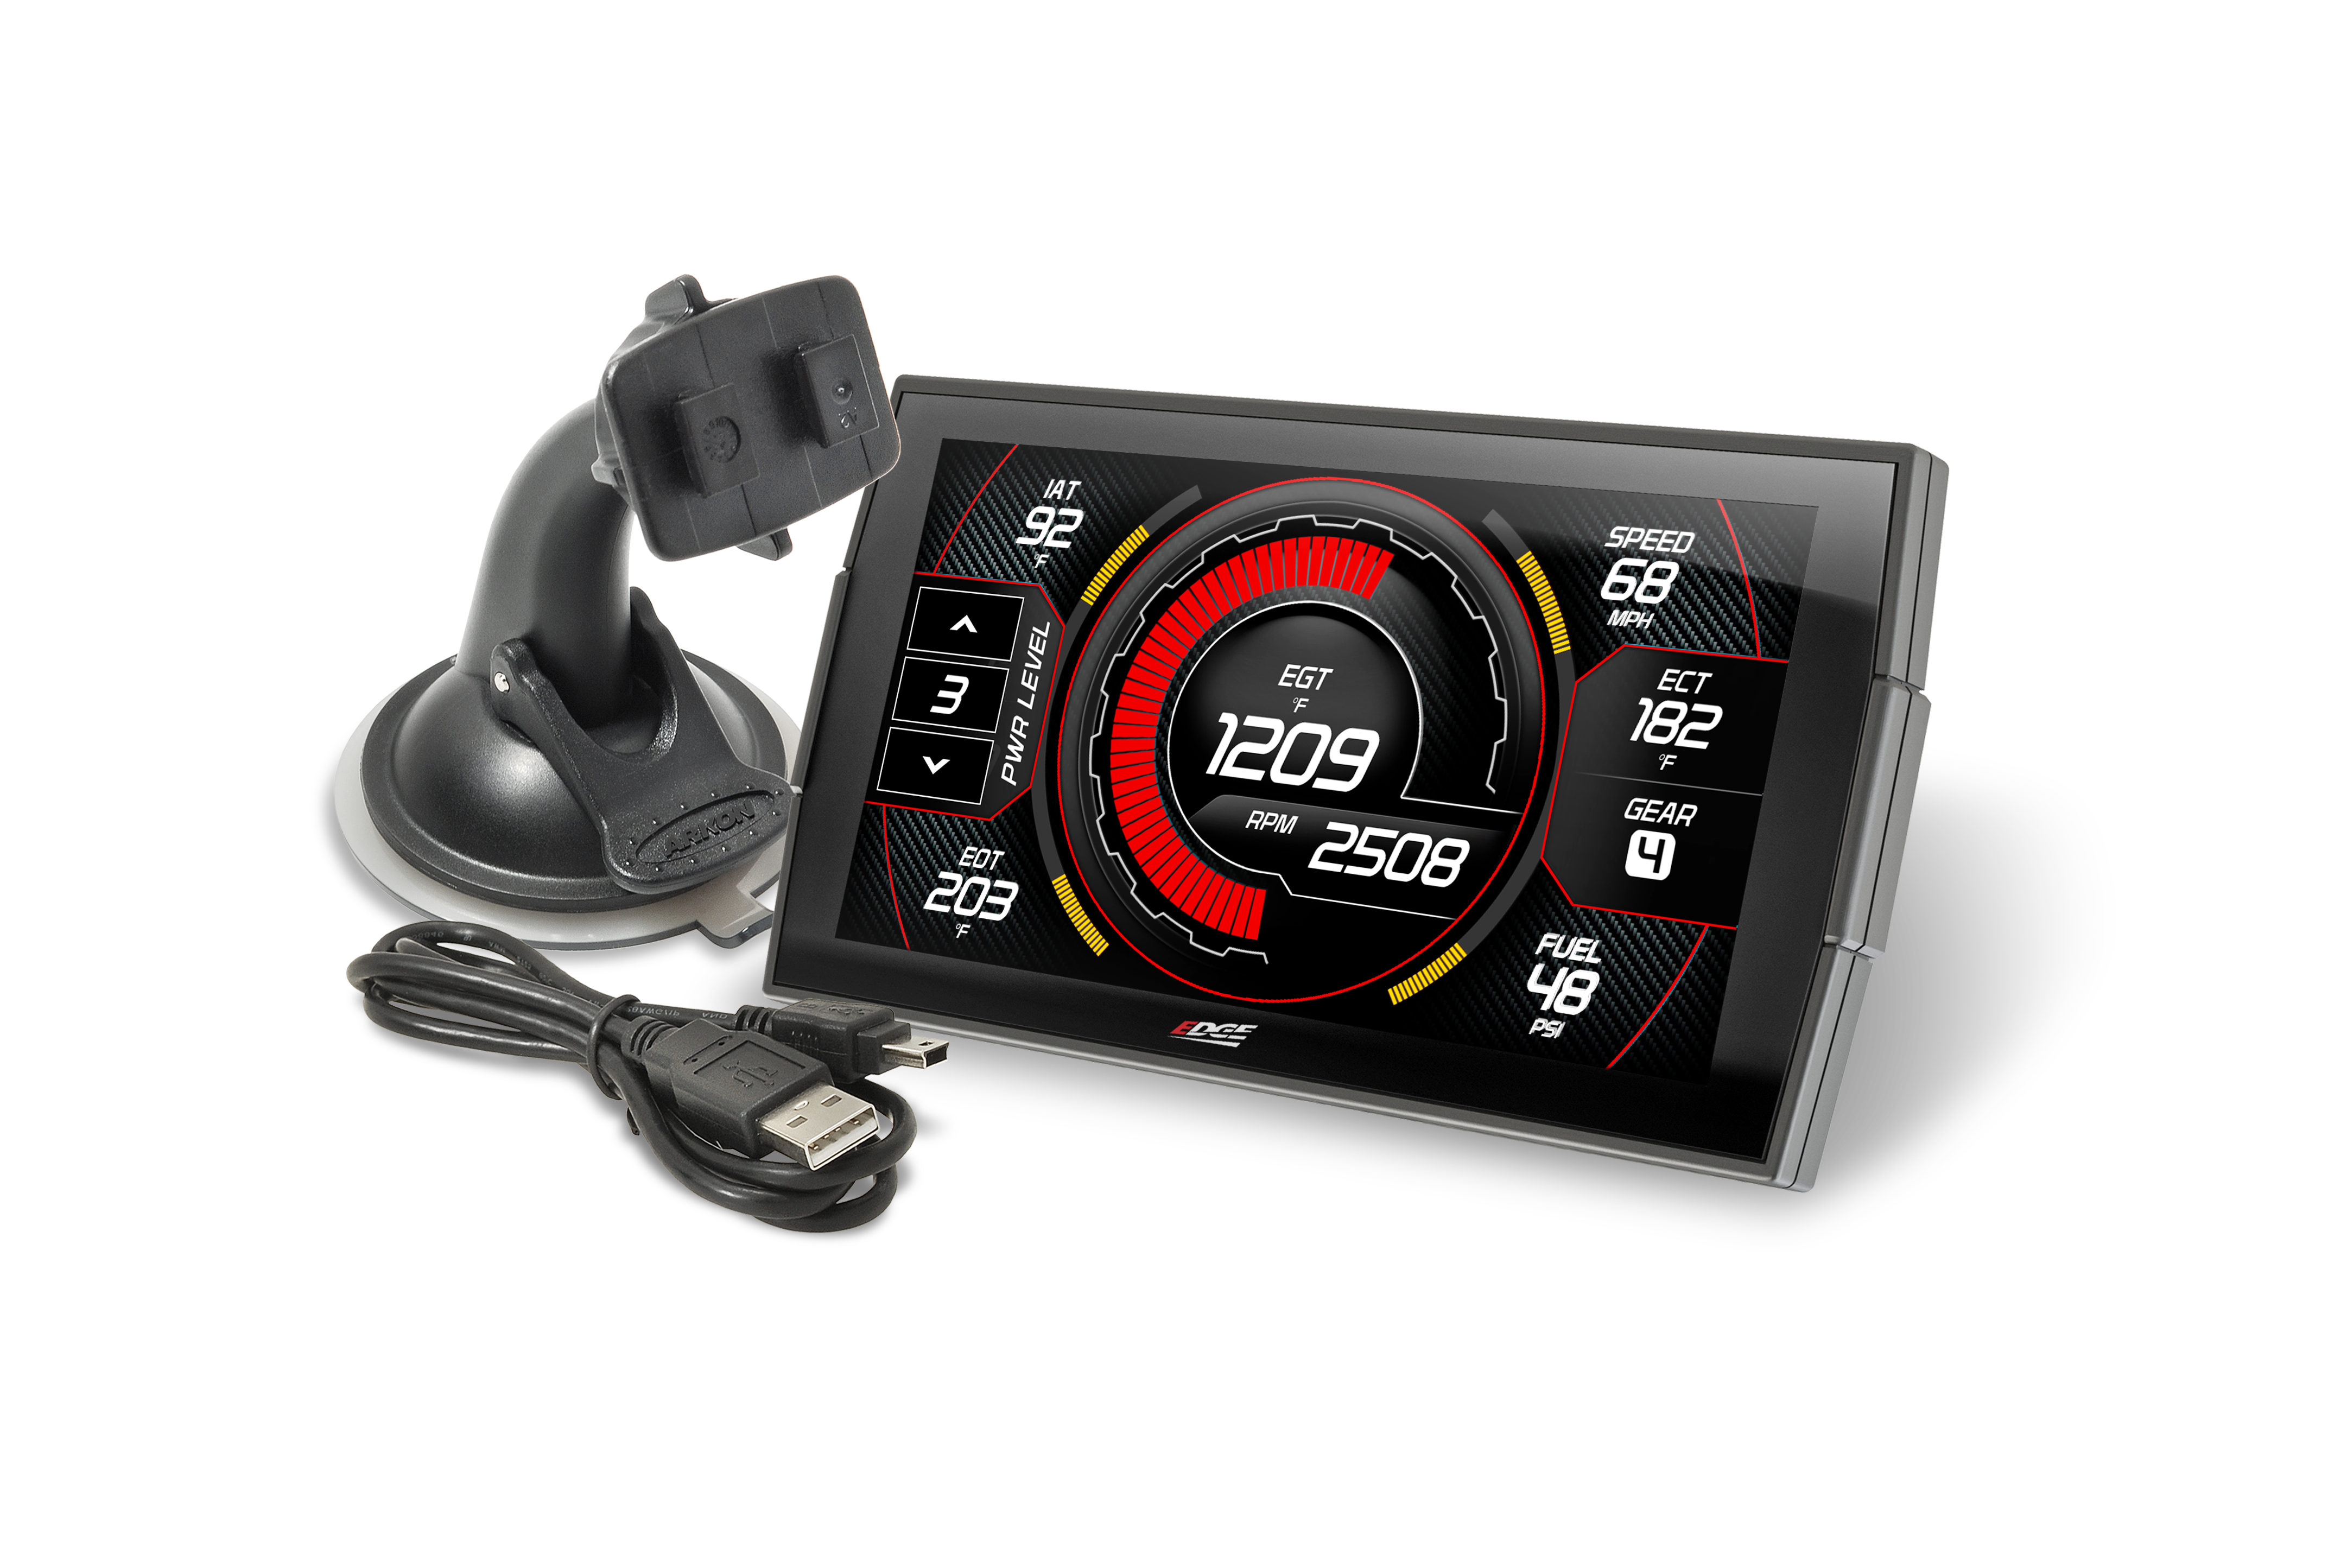
Ignition System: While most 12 volt ignition coils are compatible to be used with the Sniper it is a good idea to upgrade to their Hyperspark ignition box and coil setup paired with the Dual Sync distributor. The reason for needing the new distributor is to provide a clean RPM signal to the ecu, trying to use an older HEI to send the rpm will provide a dirty signal and cause drop outs while accelerating at higher RPM’s. The other reason would be that ecu can now have proper timing control by knowing Cam and Crank position.
Upgrade and Prepare Your Fuel System
A properly functioning fuel system is vital for EFI performance. Here are key considerations:
-
Inspect Your Fuel Tank: Many older tanks may have rust or debris that could damage the EFI system. Consider upgrading to a new fuel tank designed for EFI applications, which often includes built-in feed and return lines.
-
Install a Return Line: EFI systems require a return line to manage excess fuel. Depending on your setup, this may involve retrofitting your existing tank or replacing it with a modern one.
-
Select the Right Components: Use high-quality components, including fuel pumps, filters, hoses, and clamps. Holley offers kits tailored for the Sniper EFI, ensuring compatibility and reliability.
Mount the Sniper EFI System
Once your fuel system is ready, it’s time to install the Sniper EFI unit:
-
Check Compatibility: Verify that the provided gaskets and hardware fit your engine. You may need longer or shorter studs depending on your setup.
-
Secure the Unit: Mount the Sniper EFI to the intake manifold, torque bolts to spec.
-
Connect Fuel Lines: The system’s feed and return lines are clearly marked for easy identification. Use proper fittings to ensure leak-free connections.
Wiring for Success
Electrical connections can make or break the installation. Follow these guidelines to ensure proper wiring:
-
Harnesses: The Sniper system includes two primary harnesses: one for main power and fuel pump control, and another for accessories like fan relays.
-
Relay Installation: Mount the included relay in an accessible location.
-
Direct Power and Ground: Run the heavy 14-gauge red and black wires directly to the battery terminals or battery cables. This ensures a clean power supply and reduces electrical noise, critical for EFI functionality.
-
Finding Ignition Power: Locating a suitable ignition power source can be challenging. Ensure the ignition hot wire receives 12V when the key is on and while the engine is cranking. Older vehicles often have resistor wires that reduce voltage, which are inadequate for the Sniper system. In such cases, it’s best to tie in directly into the ignition switch or somewhere you can confirm 12 volts under cranking
-
Fuel Pump Wiring: Connect the Sniper’s fuel pump wire directly to the fuel pump’s positive terminal. If the pump draws more than 15 amps, use the wire to trigger a relay to supply adequate power. Ensure the fuel pump’s ground wire is securely connected to a clean, bare metal chassis ground.
-
Accessory Outputs: The Sniper system includes configurable outputs for accessories such as electric fans. These outputs are set to send a ground trigger to the relay, you must use ignition power or accessory for the other relay trigger or it will keep the ecu alive when powered off due to a backfeed through the relay coil. I suggest powering your fan using 12-gauge wiring for both power and ground to ensure enough current
Final Checks and Calibration
Once everything is installed and connected, take these final steps before starting the engine:
-
Inspect Your Work: Double-check all connections, fittings, and wiring for tightness and accuracy.
-
Set Initial Parameters: Follow the Sniper EFI’s setup wizard to input basic settings like engine displacement and idle speed. The system’s self-tuning feature will handle the rest.
-
Prime the Fuel System: Turn the key to the “On” position to let the fuel pump build pressure. Check for leaks.
Troubleshooting Tips
-
If the engine doesn’t start or runs poorly, recheck the fuel system for debris, leaks, or clogs.
-
Consult Holley’s support documentation or forums for guidance on advanced tuning and troubleshooting.